How To Set Up A Drum Kit
Erin Wayne is a session drummer who’s been playing and teaching drums for around seventeen years. She recently visited our Pirate Hackney drum studios to demonstrate how to set up a 5 piece drum kit from scratch.
Below, follow Erin’s beginners guide to setting up a drum kit in five simple steps.
In the following tutorial, I’m going to take you through a typical drum kit set up. I'm going to be building a 5 piece drum kit setup, which is what most drummers learn on.
‘5 piece’ refers to the number of drums in your setup - cymbals and other hardware do not count as ‘pieces’.
It’s worth noting that more experienced drummers might have developed their own drum kit setup which enhances their personal playing style. However, if you’re new to drumming, the drum set arrangement below is a great place to start.
Drum Kit Parts
Before you start setting up, you need to be familiar with the different parts of a drum kit. Every drum set consists of three main components:
- The Drums - We're going to be using a kick drum (or bass drum), a snare drum and three toms
- The Hardware - We're going to be assembling a kick drum pedal and stands for our hi-hats and snare drum
- The Cymbals - We're going to be using two crash cymbals, a ride and a hi-hat
Once you've identified the different elements of your kit, you're ready to start putting them together using the steps below.
Step 1: Kick Drum & Pedal
You should base the entire build of your kit around the placement of your kick drum. Think of it as your centre point and that will make things much easier.
Fold out the legs of your kick drum and screw them nice and tight. Place the drum in front of where you're going to be sitting and give it a little nudge, make sure it’s stable, the legs are even and that it’s not going to move.
Next, you want to fix your pedal onto the rim of your kick drum. The pedal should clip on easily. Once it’s in place, there’s usually a screw and bolt on the side of your pedal to tighten it.
Once secured, step on the pedal. The beater should hit the kick drum in it’s centre and bounce back.
If stepping on the pedal is too hard or makes your legs tired, this is a sign that you need to adjust the tension of the pedal to make it a little looser.
If the pedal stays on the drum head and does not bounce back, the tension is too loose.
Step 2: Toms
A typical drum setup will have two types of toms - floor toms and mounted toms. In this demonstration, I’ll be using three toms - two are mounted above the kick drum, and one (the floor tom) goes on the floor, on the right.
First, slide your two higher toms on, above your kick drum, one on either side and give them a tighten. Don’t tighten them too much just yet as you’ll want to adjust them later on.
Next up, you’ve got your floor tom which will need some legs. Again, don’t put your legs on too tight just yet as it's likely you'll need to adjust them.
I like to make my floor tom lean towards me a bit so I can easily hit the centre but that's just personal preference - find a height and angle that works for you.
Step 3: Snare & Hi-Hat Stands
Next up is your snare. Grab your stand, pull the legs out and pop it on the ground. Take your snare drum and set it on top of the stand where it should fit nicely.
If you need to tighten your snare's positioning, you’ve got a little screw on the stand, just under the drum itself - this lets you tighten or loosen the stand.
When you put your hi-hat stand on the floor, you’ll find it’s super wobbly at first - you want to push the legs down so they’re fully extended and the stand won’t move while you’re playing.
Step 4: Cymbal Stands
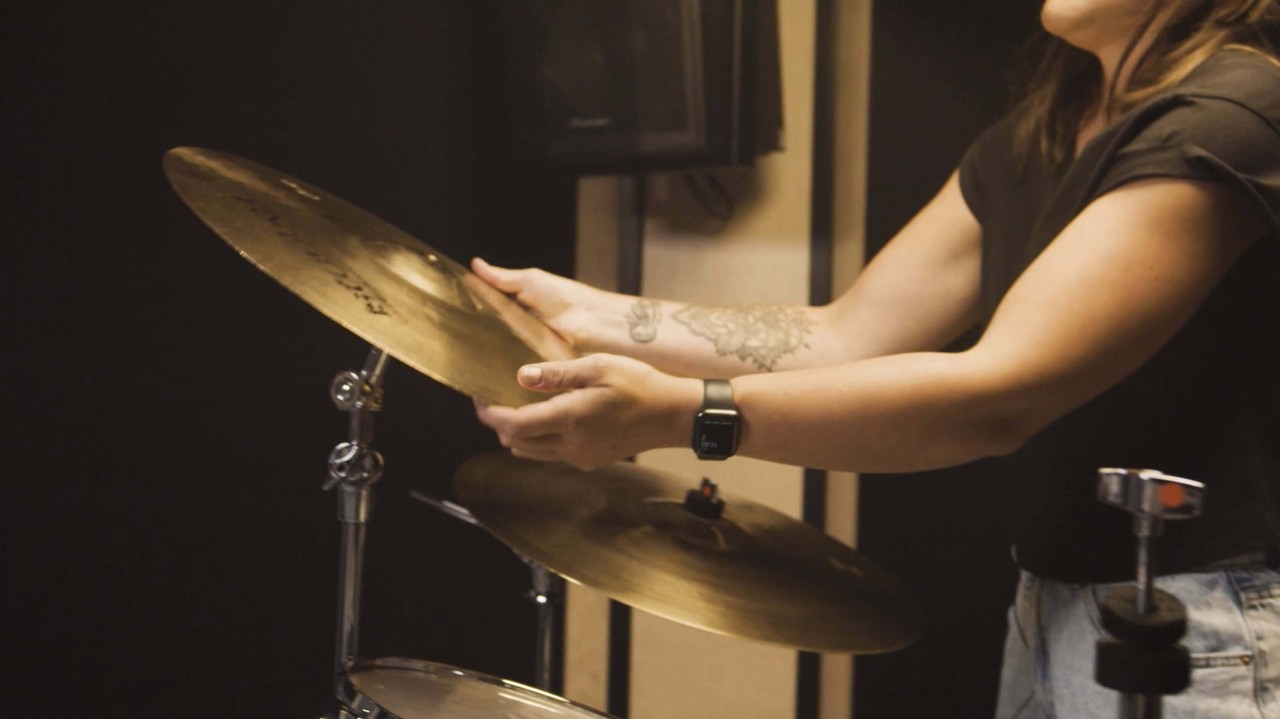
Next up are your cymbal stands. A standard drum setup would have your ride cymbal on the right, two crashes in the middle and a hi-hat on the left.
Your ride cymbal should hover over your floor tom and both crash cymbals should sit a few inches above the mounted toms, but not too high - you’ll want to keep them within a comfortable reach.
Setting up the cymbal stands is very similar to setting up a snare drum stand - you want to pull the legs down so they’re fully extended and your stand is stable.
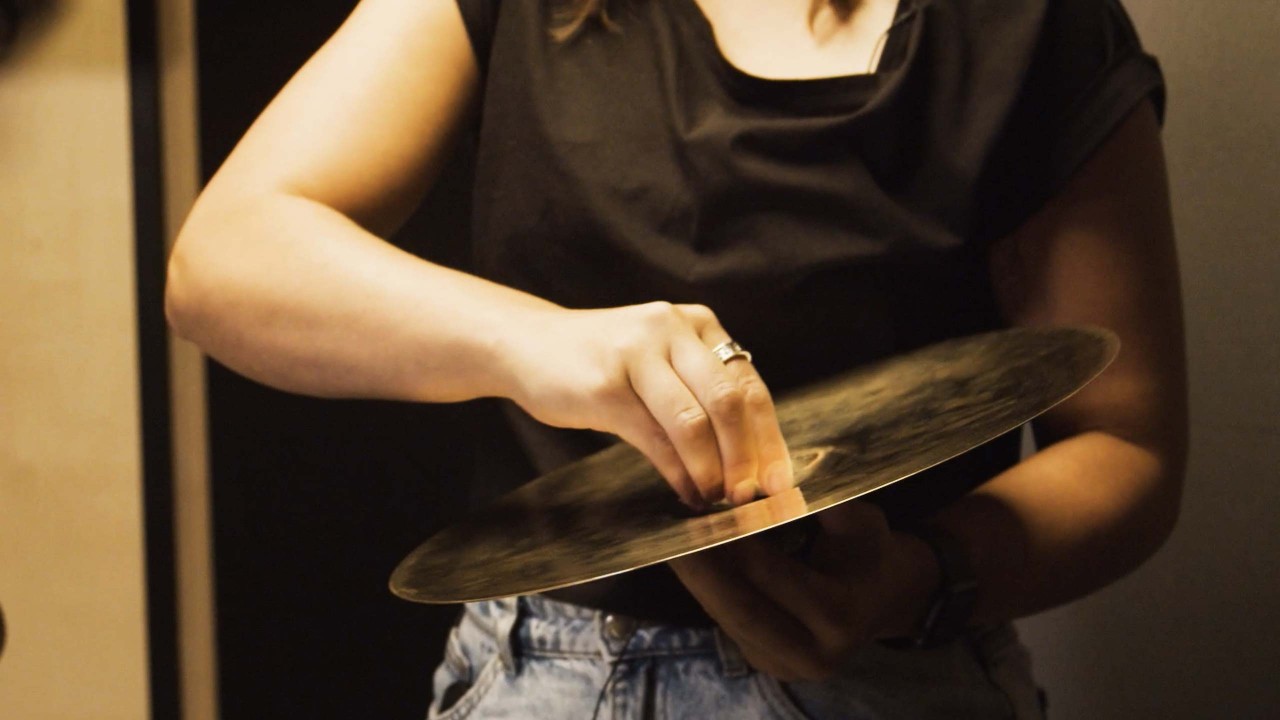
Step 5: Cymbals
I usually start from biggest to smallest with my cymbals, but there's no hard and fast rule for which you should put on first.
Once you put your cymbal on the stand, you should have one piece of felt below the cymbal and one piece on the top. Once these are in place, you can tighten them up.
How To Assemble A Hi-Hat
When you come to placing your hi-hat, this works a little differently. You need to know exactly how to assemble a hi-hat.
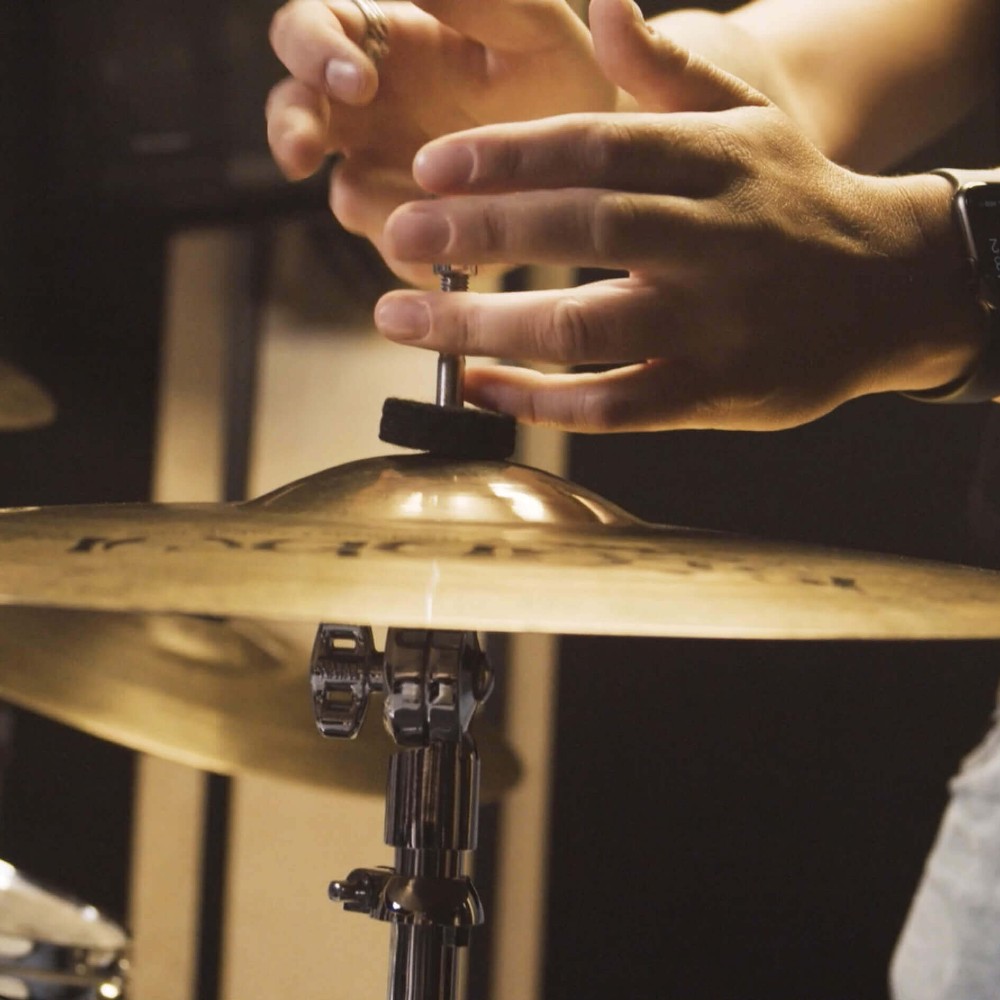
Hi-hats consist of two cymbals - most will have a little engraving saying which is the bottom. If yours doesn't, an easy way to tell which is the bottom, is that it should be heavier. The bottom cymbal goes on your stand first.
Between the two cymbals sits a hi-hat clamp, this is made up of two bits of felt and two washers in the middle that need to stay together - these ensure you won't have a wobbling hi hat.
Put your top cymbal on top of your clamp, then put a washer on top of the cymbal. Next, tighten the whole arrangement as tight as it can go.
Though your hi-hat set up might appear daunting at first, it's really not that much harder than setting up your other cymbals.
The drum set setup demonstrated above is widely considered the most common and therefore the most suitable for beginner drummers. That being said, for many drummers their drum kit setup style won't change drastically throughout their careers - many will continue using this basic drum setup at a professional level. This means, it's worth taking the time to really learn this basic drum kit setup.
Once you’ve mastered setting up your drum kit, you can head over to the Drumming Tips section of the Pirate Blog to learn more playing techniques, from how to hold drumsticks to how to hit cymbals properly, and access free drum practice routines for beginners.
Lastly, if you're wondering which drum set is best for beginners, it's worth trying the kits at Pirate's drum practice studios before investing in your own stand up drum set. Even a 3 piece drum setup is very expensive to buy, whereas you can get the works at Pirate and pay per hour.
Pirate has drum practice studios available in cities across the UK, US and Germany - head to Pirate.com to find your closest one and get practicing.
